
What if the wall visitors see first could tell them what your company stands for before anyone says a word? A branded feature wall for office spaces can turn a blank reception, meeting room or shared area into a memorable focal point, while making your business identity visible to employees and visitors.
A strong result isn’t about filling every inch with logos or colour. It’s about choosing the right wall, design format and finish for the space, then creating a visual statement that feels professional rather than cluttered. This guide covers how to plan a feature wall that reflects your identity and fits the way your office is used.
Explore options including wall graphics, dimensional lettering, 3D wall panels and metal wall art, along with practical points to consider before installation. First Stop Signs Print coordinates design, production and installation in-house at its Romford workshop. Every custom order includes a free digital design proof with unlimited revisions before sign-off, so you can refine the layout before it goes into production.
Key Takeaways
- A branded feature wall for office spaces can make your company identity visible while giving reception, meeting and shared areas a distinct purpose.
- Start with one clear message, then match the wall’s location, audience and visual hierarchy to it.
- Compare printed graphics, 3D panels, lettering and metal wall art to find a format that suits the space without making it feel cluttered.
- Prepare wall measurements, site photographs and brand assets to help shape the design and installation plan.
- A coordinated design, production and installation process helps carry the approved concept through to the finished wall.
Why a Branded Feature Wall for an Office Makes a Difference
A branded feature wall for office spaces is a deliberately designed focal surface that expresses an organisation’s identity through elements such as its logo, colours, imagery or lettering. Unlike general decoration, it has a clear purpose: to make the wall and its message feel part of the workplace. A well-planned design can give visitors a more distinctive first impression and make the company’s identity easier for employees to recognise.
Start by deciding what the space needs to communicate. Brand recognition helps people identify the organisation; atmosphere shapes how a room feels; wayfinding helps people understand where to go. These aims can work together, but they aren’t interchangeable. A prominent logo can reinforce identity, for example, but it won’t guide a visitor to a meeting room unless the design also includes clear directional information.
For a visual reference, watch this video on accent wall design ideas:
Corporate identity includes visual elements such as logos, colour palettes and typefaces. The corporate identity concept is a useful starting point, but the wall should translate those elements for its audience and setting rather than simply enlarging a logo.
What should an office feature wall communicate?
Begin by deciding who should notice the wall: employees, clients, partners or a mix. Then choose one central message, such as what the organisation does, what it makes or the values it wants to express. This focus keeps the design clear, particularly when people see it briefly as they enter or pass through.
Use brand colours, a logo and relevant imagery consistently, with enough open space for each element to remain legible. A reception wall might pair the company logo with a concise description of its work, while a shared area could use imagery that reflects the people or process behind the business. Avoid treating every available patch of wall as space to fill.
Where can a branded wall have the most impact?
Choose a location by considering what people do there and what you want them to take away from the space:
- Reception: Introduce the business where visitors arrive. A clear focal point can make the space feel considered and recognisable.
- Meeting room: Keep the brand present during client visits and presentations. A restrained design can suit the professional setting without competing with screens or conversation.
- Shared space: Create a more people-focused atmosphere in a breakout area or staff hub. Imagery linked to the organisation’s work or values may feel more appropriate here than a formal, logo-led display.
Match the wall’s purpose to its position, sightlines and everyday use. This gives the design a job to do, rather than leaving it as decoration alone.
How to Turn Your Brand Identity into an Office Wall Concept
A successful branded feature wall for office spaces starts with a clear idea, not a collection of logos, colours and images. Decide what people should understand or feel when they see it, then use that purpose to guide the location, layout and format. A wall for clients arriving at reception may need a different emphasis from one designed for employees in a shared area.
Purpose and audience shape the wall: decide what it needs to say, who needs to see it and where it will work best. Use this sequence to turn existing brand assets into a practical design brief:
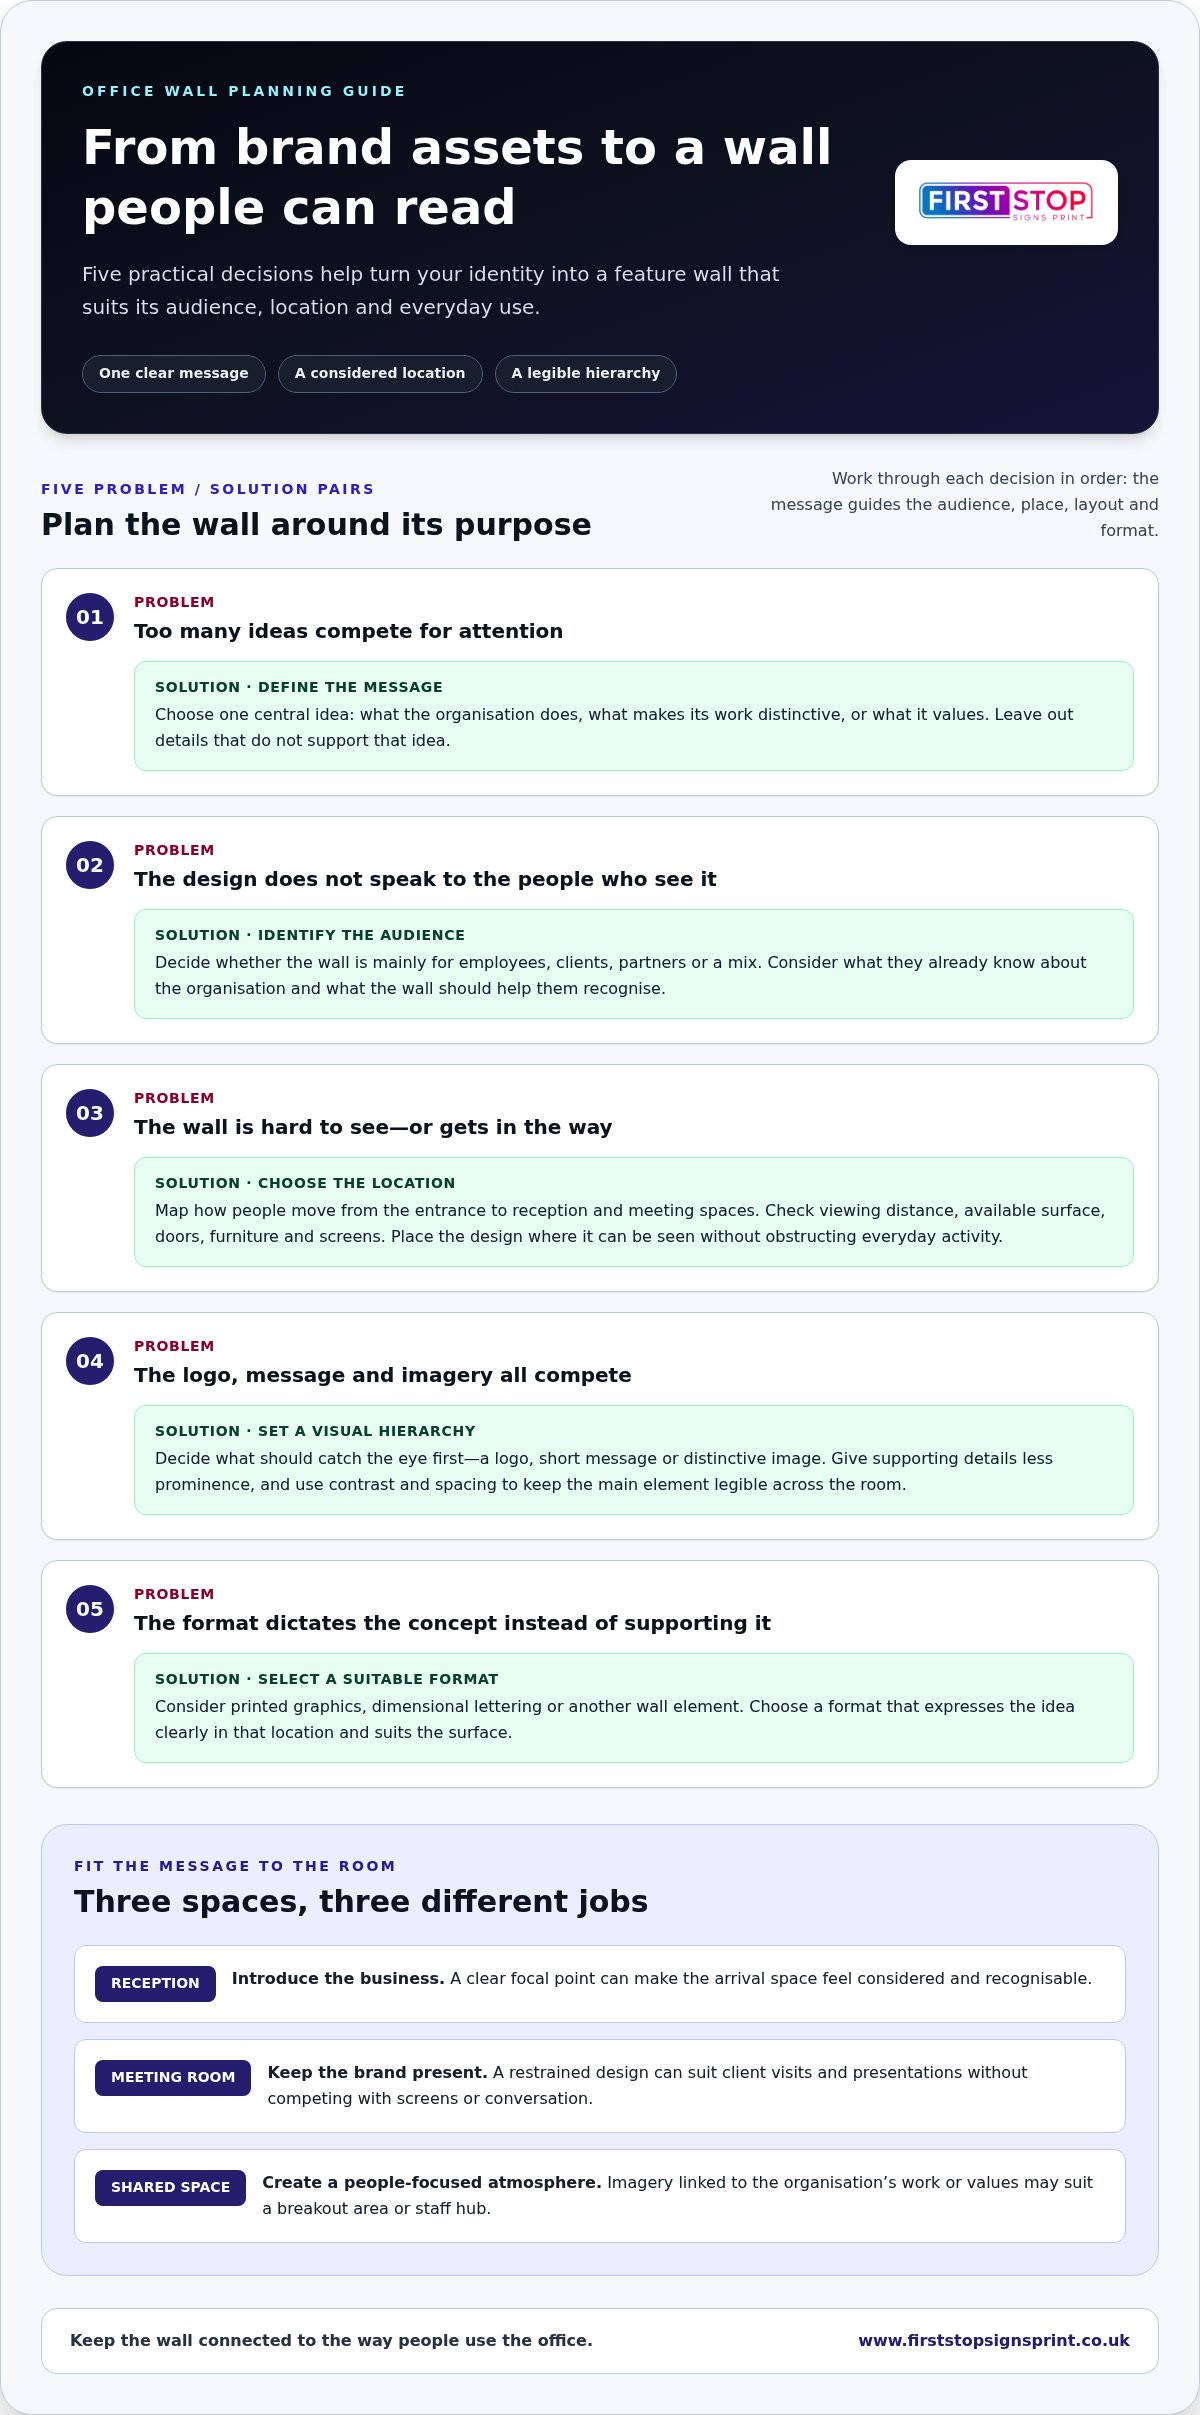
- Define the message. Choose one central idea, such as what the organisation does, what makes its work distinctive or what it values. A concise message gives the design direction and helps avoid adding details simply because they’re available.
- Identify the audience. Decide whether the wall is mainly for employees, clients, partners or a mix. Consider what each group already knows about the organisation and what the wall should help them recognise.
- Choose the location. Map how people move through the office, from the entrance to reception and meeting spaces. Note the viewing distance, available surface and nearby furniture. Choose a position where the design can be seen without obstructing everyday activity.
- Set the visual hierarchy. Decide what should catch the eye first, such as a logo, short message or distinctive image. Give supporting details less prominence so they don’t compete with the main idea.
- Select a suitable format. Consider whether printed graphics, dimensional lettering or another wall element will express the idea clearly in that location. The format should support the message and suit the surface, rather than dictate the concept.
Choose the wall by the way people use the office
Trace the visitor route and notice where people pause, look for directions or gather for conversations. A reception wall may be seen from the entrance, while a meeting-room design is experienced at closer range. Check sightlines from seated and standing positions, as well as the space around doors, furniture and screens. This helps the feature feel integrated into the workplace rather than imposed on it.
Build a clear visual hierarchy from brand assets
Start with the brand files and materials already in use, including the correct logo, colours, typefaces and imagery. Consistent use helps the wall feel connected to the organisation’s wider identity. Prioritise one leading element, then use contrast and spacing to keep it legible across the room. For broader layout principles, explore this UK guide to sign design.
For example, a single logo paired with a short statement may communicate more clearly than several slogans, photographs and decorative details competing for attention. Gather approved assets before design begins and note any elements that must appear exactly as supplied. A considered brief makes it easier to develop one visual idea into a cohesive wall concept. For support with signage or printed wall elements, explore First Stop Signs Print’s design and installation work.
Office Feature Wall Formats: Graphics, 3D Panels and Lettering
The format affects how a wall reads across a room. Printed graphics create an image-led surface, while dimensional elements project from it and add visible depth. The right option depends on your concept, viewing distance, wall conditions and how much visual emphasis the space can carry. Compare the options before settling on a design for your branded feature wall for office.
| Format | Visual character | Suitable use | Planning considerations |
|---|---|---|---|
| Printed wall graphics | Image-led, with scope for photographs, patterns, brand colours and graphic compositions. | A wall where a broad visual story or continuous design is needed. | Measure the full surface and account for corners, edges, sockets, doors and other fixed fittings. |
| 3D wall panels | A shaped or patterned surface that introduces depth through the panel layout. | A reception or shared-space focal area where the wall itself should contribute to the visual concept. | Plan panel positions around the wall’s proportions, joins and nearby features. |
| Built-up or flat-cut lettering | Dimensional letters give a logo or message a defined, raised presence. | Brand names, short statements or logos that need to stand apart from the background. | Check letter scale, spacing and viewing distance. Built-up letters have a depth of 30-80 mm; flat-cut letters are 10-20 mm thick. |
| Metal wall art | A distinct material finish and dimensional presence. | A considered brand motif or focal detail in a reception or meeting area. | Allow the artwork room to read clearly, and plan its position in relation to furniture and other wall elements. |
When do printed wall graphics suit an office?
Choose printed graphics when the idea depends on a large image, repeated pattern, brand colours or a composition that spans much of the wall. A landscape image can set an atmosphere, while a carefully arranged graphic can bring several brand elements together. Develop the artwork to the measured wall dimensions, allowing for edges and fixed fittings so key details aren’t cut off or hidden. For wider context on how signs support a consistent brand presence, explore this guide to bespoke business signs.
When should you consider dimensional wall elements?
Consider 3D wall panels when surface form is central to the concept, built-up letters when the name or logo should project from the wall, and metal wall art for a separate, material-led feature. These options create depth rather than a fully printed image, so scale and placement matter. Avoid crowding several dimensional elements together. For more detail on raised lettering, see this guide to 3D lettering.
Whatever the format, keep the design focused on the wall’s purpose. A clear focal element, planned for its surroundings, is easier to read and more likely to feel at home in the office.
Plan an Office Feature Wall from First Sketch to Installation
A clear process helps turn a branded feature wall for office spaces from an initial idea into a finished installation. Start with accurate information about the wall and the intended message. Then develop the artwork, review the digital proof carefully and approve it before production begins. Sharing site details early helps coordinate design, fabrication, printing and installation.
Use this sequence to prepare:
- Survey the wall. Record its width and height, surface condition, corners, edges and fixed fittings such as sockets, doors or screens. Take photographs from several angles, including the main approach and the positions where people are likely to view the design.
- Write a focused brief. State the wall’s location, intended audience and main purpose. Include the key message, preferred imagery and any elements that must be prominent, such as a logo or company name.
- Gather brand assets. Supply the correct logo files, brand colours, typefaces and approved imagery. Note any layout requirements, such as keeping a logo clear of fittings or placing a message at a particular point on the wall.
- Prepare artwork files. Vector formats such as AI, EPS, SVG or PDF are preferred, with fonts outlined. Raster artwork is accepted at 300 dpi. Suitable files help retain the intended detail and appearance.
- Review, approve and arrange installation. Check the digital proof for layout, spelling, colour choices, scale and alignment. Approve the artwork only when it reflects the brief and suits the wall information supplied.
Prepare a useful brief and wall information
Include measurements as well as clear photographs: dimensions show the available space, while images reveal its surroundings. Record visible surface conditions and nearby fittings, and mention viewing angles from the entrance, reception desk or seating. Attach approved brand assets and state which details are essential. This gives the design a practical basis and reduces guesswork before artwork is prepared.
Review the proof and coordinate installation
Every custom order from First Stop Signs Print includes a free digital design proof with unlimited revisions before sign-off. Use those revisions to check the composition against the actual wall, not just as a standalone graphic. Standard turnaround is 5-10 working days after proof approval. Installation coverage includes Greater London, Essex and the Home Counties.
Before approving, view the proof at its intended proportions and confirm that no important text or logo detail sits too close to an edge or fitting. Share relevant site details for installation planning, including the wall location and any access considerations that could affect the work. Clear information helps align the approved design with the space where it will be installed.
For a coordinated process from design through installation, plan your office feature wall with First Stop Signs Print.
Create Your Branded Office Feature Wall with First Stop Signs Print
A feature wall project brings together design decisions, printing or fabrication and the practicalities of the office space. First Stop Signs Print produces wall graphics, 3D wall panels, metal wall art and signage, with design, fabrication, printing and installation carried out in-house at its Romford workshop. This coordinated approach helps carry the agreed concept through to the finished wall.
Whether you’re planning a branded feature wall for an office reception, meeting room or shared space, the design can be shaped around the wall’s dimensions, your brand assets and the visual effect you want. Printed graphics can carry image-led artwork, while dimensional options such as panels, lettering or metal wall art create a different kind of focal point. The right combination depends on the brief and the setting.
What the project process includes
Start with a tailored brief covering the wall, location, brand identity and preferred format. First Stop Signs Print then prepares a free digital design proof, with unlimited revisions before sign-off. Review the layout and request changes before approving it. Production begins after the proof is approved, giving you the opportunity to agree the visual direction before work proceeds.
Standard turnaround is 5-10 working days after proof approval. This is the production turnaround, not a stated installation duration. Installation coverage includes Greater London, Essex and the Home Counties, while UK-wide delivery is available. Every installation includes a 2-year warranty.
Take the next step with a clear project brief
To start planning, outline the office location and wall dimensions, then share photographs of the space if available. Include your logo and other brand assets, any wording that must appear, and the visual effect you’re aiming for, such as a printed image, a dimensional focal point or a combination of elements. These details give the design process a clear foundation.
With the brief in place, the proofing stage lets you review how the design will sit on the wall and refine it before sign-off. The 5-10 working day standard turnaround begins only after the proof is approved, so allow time for design review and revisions as part of your project planning.
Discuss your branded office feature wall.
Make Your Office Brand Visible in the Space
Turn your preferred idea into a brief that connects the wall to how your office works. Consider what you want people to notice first, what the space should feel like and how the design will sit alongside its everyday use. A clear direction gives your branded feature wall for office project a practical starting point.
First Stop Signs Print coordinates design, fabrication, printing and installation from its Romford workshop. You can review a free digital proof and request unlimited revisions before sign-off, with a 2-year warranty on every installation. The proof gives you the opportunity to refine the visual direction before production.
Bring together your wall dimensions, brand assets and preferred visual effect, then take the first step towards a space that feels unmistakably yours. Discuss your branded office feature wall and start shaping a focal point for your workplace.
Frequently Asked Questions
What is a branded feature wall in an office?
It’s a wall designed to make a company’s identity visible within the workplace, using elements such as its logo, colours, imagery or lettering. Unlike a display that changes for campaigns, a feature wall is usually planned as part of the office environment. For a branded feature wall for office reception, for example, the design might help visitors recognise the business as they arrive without relying on temporary posters.
Can a feature wall work in a small office?
Yes. A smaller space can benefit from a focused design on one wall rather than branding spread throughout the room. Choose a simple focal element, such as a logo or compact graphic, and consider what people see from the doorway. Avoid letting the design compete with furniture, screens or storage. A measured layout can make the wall feel intentional while keeping the office comfortable to use.
How many feature walls should an office have?
There’s no fixed number. Start with the office layout and the job each wall needs to do. One focal wall may be enough for a compact workplace, while a larger office might use separate designs in reception and a staff area. Keep each one purposeful and visually related. If several walls repeat the same logo and message, they may compete for attention rather than create a coherent environment.
What artwork file should I provide for a branded office wall?
Vector artwork is preferred because it can be scaled for a large wall while retaining clean edges. Suitable formats include AI, EPS, SVG or PDF, with fonts outlined in the file. Raster artwork is also accepted at 300 dpi. Include the approved logo and relevant brand assets, and use clearly named files so the intended artwork is easy to identify during design preparation.
How long does production take after I approve the design proof?
Standard production turnaround is 5-10 working days after you approve the design proof. This period begins at approval, not when you first submit a brief or artwork. If the proof needs changes, allow time to review the revised design before signing it off. Installation timing is separate from the production turnaround, so plan the project around your office schedule and site arrangements.
Can an existing logo and brand colours be matched on a feature wall?
Yes. Provide the approved logo and the colour references used in your existing materials so the design can follow your established identity. Colour references may use Pantone, RAL or CMYK values. If you only have a digital logo or samples from printed materials, include them with the brief as a reference when preparing the proof.
Does First Stop Signs Print install office wall signage in Essex and Greater London?
Yes. First Stop Signs Print provides office wall signage installation across Essex and Greater London, as well as the Home Counties. Installation can form part of a project involving wall graphics, dimensional lettering, 3D wall panels or other signage. Include the office location and the type of wall element in your brief to help plan the project around the site and chosen design.


